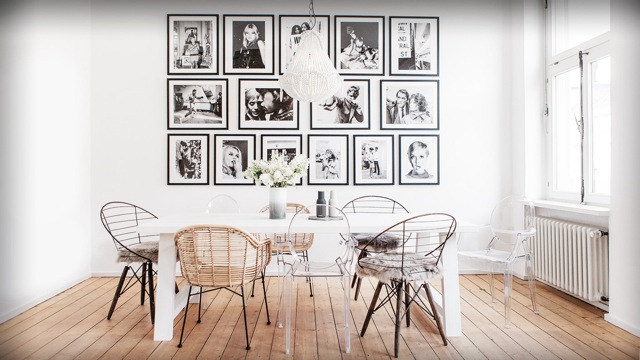
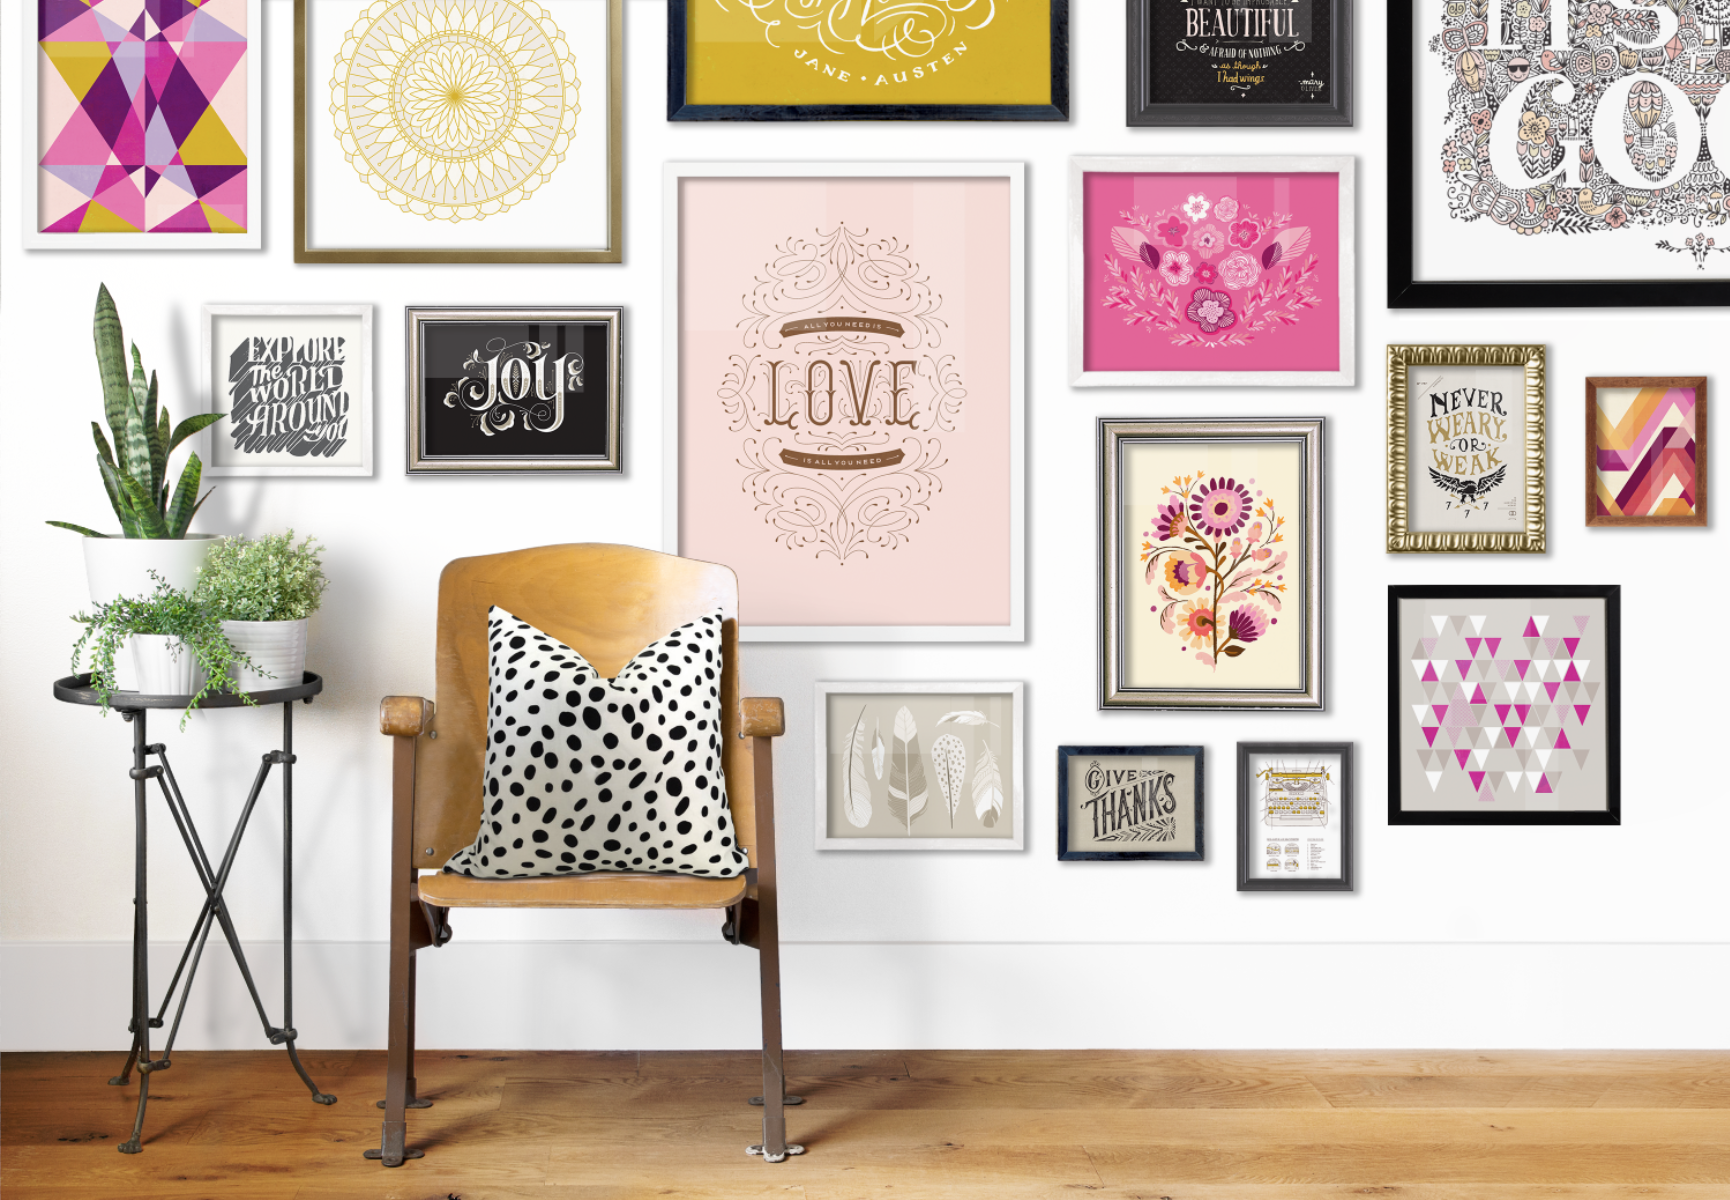
(source)
Gallery walls instantly tell the story of your home, whether it’s through favorite snapshots or artwork that reflects who you are, or a combination of the two. I recently had the opportunity to speak at our local Pottery Barn about gallery walls. It was a fun night themed “layering for seasons”. We have a gallery wall in our living room and it’s hands-down one of the favorite corners in our home.With super high ceilings, I was stumped with what to do with this space when we gutted our home nine years ago. But, I wanted this to be a space just for family as a sweet reminder of all the people we treasure . We picked the Pottery Barn Gallery frames because I didn’t want to risk not finding the same frame years later. Thankfully, the frames we started with years ago haven’t changed! We have our five kids in the center of the arrangement and added family around the kids. Honestly, other than those five center frames, I don’t put much thought into how the frames around it look but I did consider a couple guidelines to make it look cohesive.
There are several different ways to design a gallery wall. Pottery barn has great recommendations here but in case you’re wanting to use different types of frames or use items other than frames, there are a few things to keep in mind making this a beautiful option to add tons of personality to your space.
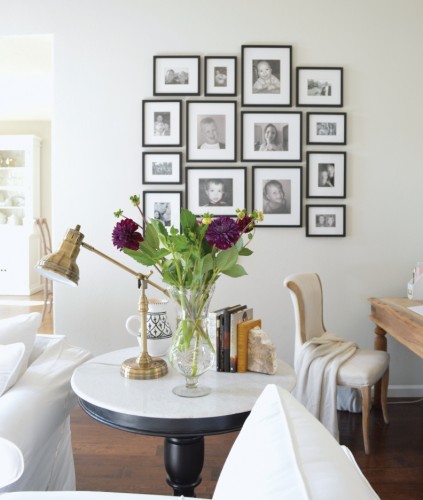
(here’s our gallery wall from several months ago)
First, choose your art. Almost anything can have visual impact when framed and hung. Original prints, pages from magazines, photographs of your own travels, photographs of your family and friends and even old letters can constitute a collection. Make sure the colors go together! If you’re wanting to hang art, there are sites like Minted that offer suggestions of artwork by different artists that all work together. If you’re wanting to frame art or photos you already have, Simply Framed and Framebridge offer chic framing options.
Once you’ve chosen your art, lay it out on the floor to arrange all the different pieces. It’s best to start at the bottom and work your way up or start with the center, especially if you’re using an anchor piece and build around it. Measure end to end of your gallery arrangement. Take that measurement and sure it will take up enough room on your wall. Of course you can always add to it over time but you want it to take up enough space initially so it’s pleasing to the eye. Bigger is better!
As far as spacing, closer is better. There shouldn’t be more than 3-4” between frames. Too few pieces and pieces too spaced out tends to look cluttered.
Take a photo of the arrangement to refer to later as you start to hang the frames.
Need some inspiration? If you like a tidy and cohesive look, choosing frames all the same color with black and white images hung as one huge rectangle, makes a stunning statement in a hallway! I like to call this look a “clean edge”.
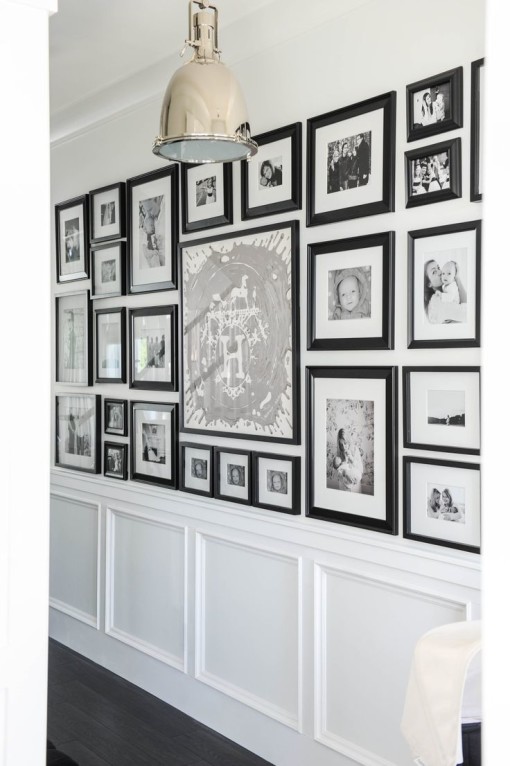
(Style Me Pretty)
Want to draw attention AWAY from your TV? Layering randomly place artwork around the TV, using an anchor piece on either side, makes the TV retreat a tad. Your anchor piece should be about the size of the TV.
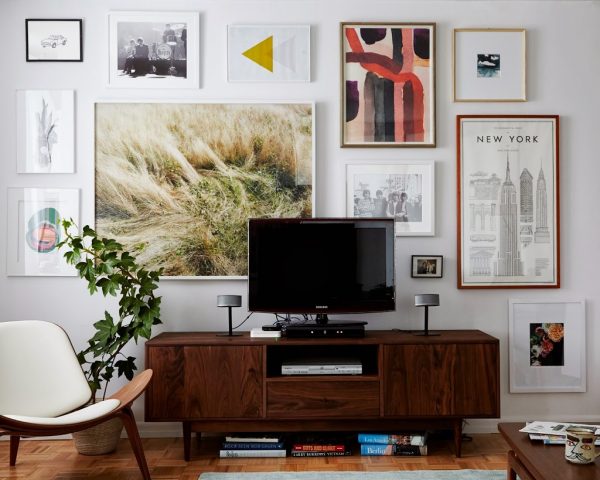
(source)
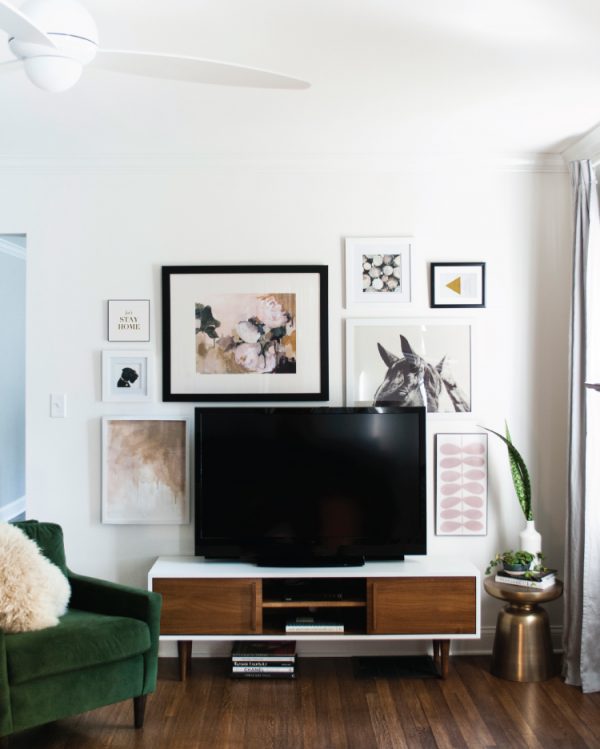
Don’t worry if the TV overlaps your artwork. It gives such a layered and natural vibe. And how about that velvet chair? Gorgeous!
Another method is to cut out brown paper the size of your frames and tape them to the wall like this.
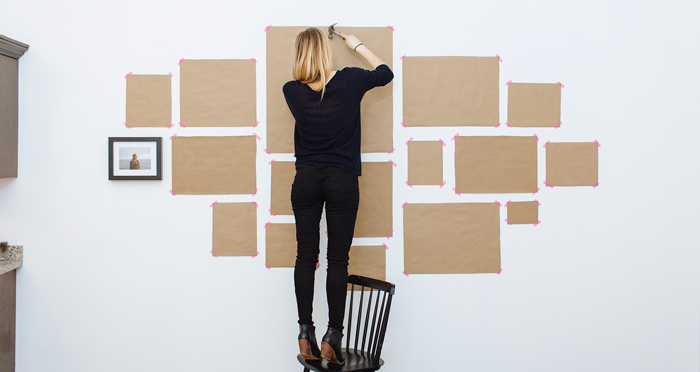
(source)
Genius.
Bottom line. Don’t overthink it, don’t space your frames out too much and you’ll take a blank canvas and make it a reflection of who you are!
